
Get started
You need a RAK3401 repeater, ideally with a RAK12027 (Omron D7S) sensor fitted, and a computer with a USB cable and a Chromium-based browser (Chrome, Edge or similar).
1. Flash the firmware
Open the Quake Repeater flasher and follow it. It flashes the latest release over USB, then has a Configure step for the settings below. Releases are also listed on GitHub.
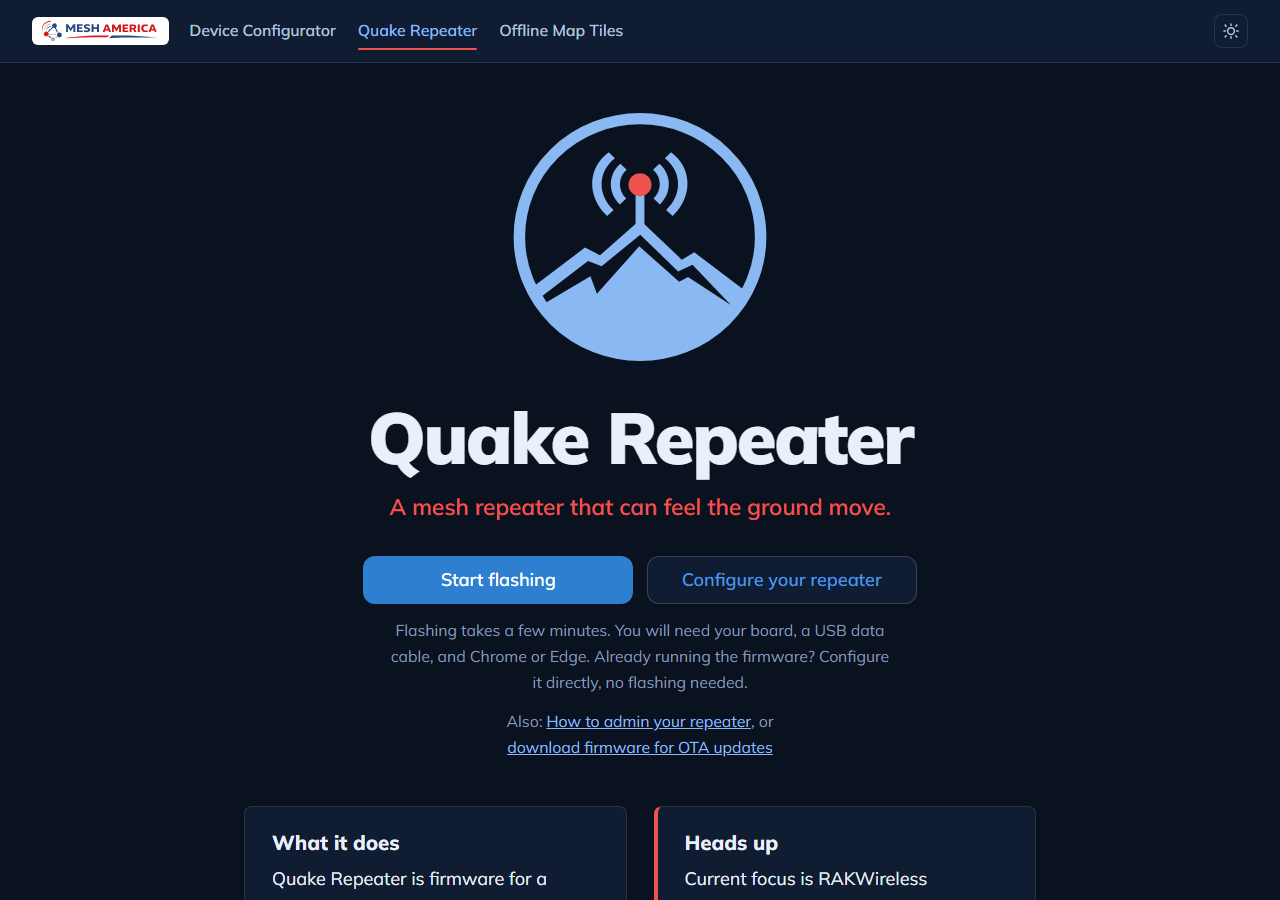
Updates can also be sent over the air (Bluetooth or LoRa) once a repeater is running the firmware: see Update over the air.
A freshly flashed repeater is named Quake Repeater until you rename it. ver shows the firmware, for example Quake Repeater v1.17.1.6.
2. Set the clock
A repeater without a battery-backed clock or GPS loses the time when it loses power. Set it with time <epoch seconds> (the flasher's Configure step warns if it looks wrong). From release 1.17.1.5 the firmware also keeps the clock from going backwards across a restart; see The repeater's clock.
3. Set the location and the alert channel
Alerts name where the shaking was felt, so the repeater needs to know where it is:
set lat 47.61
set lon -122.33
set earthquake.channel #quake-alerts
Use the hashtag channel your community uses (letters, digits and dashes). #test, #bot and the Public channel are refused. Nothing is sent until both the channel and the location are set.
4. Test it
earthquake testposts a message beginning TEST: (at most one every 30 seconds). earthquake status shows whether the repeater is ready and, if not, what is missing.
Setup in full, including the commands and what happens during an event, is in Earthquake channel alerts. Every command an owner needs is in How to admin your repeater.
5. Know what an alert tells you
Before you share the channel
Read What the sensor readings mean first, so people understand that one alert is a local shaking report and not an earthquake announcement.